
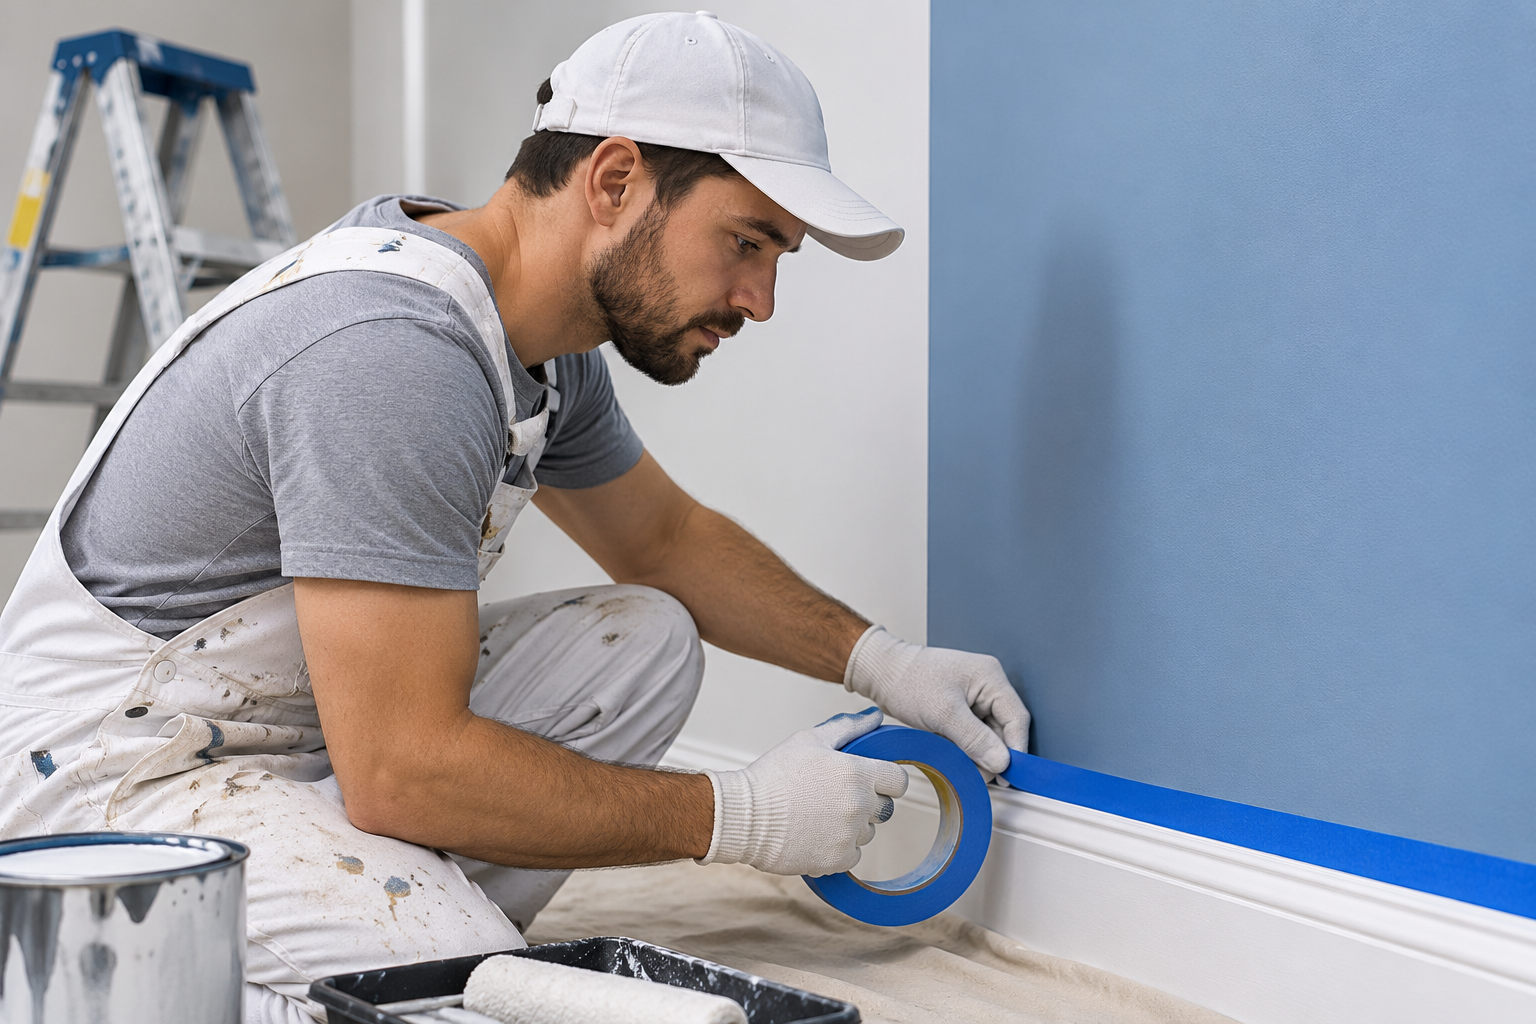
When preparing to paint a room, one of the first things homeowners notice is how much preparation goes into the job. Furniture needs covering, floors need protection, and edges around windows, doors, ceilings, and skirting boards need careful attention.
This often raises an interesting question: Do professional painters use tape, or do they simply rely on their painting skills to create clean lines?
The answer is yes, professional painters regularly use painter's tape when it is appropriate for the job. It helps protect surfaces, control paint application, and create neat boundaries between different colours and materials.
However, experienced painters do not depend on tape for everything. They also use techniques such as cutting in, which involves carefully applying paint along edges with a brush.
Understanding when painters use tape, which type they choose, and how they remove it can help homeowners make better decisions about their painting projects.
Do Professional Painters Use Tape?
Yes, professional painters use painter's tape as part of their preparation process, particularly when working around areas that need protection from unwanted paint.
Painter's tape is a specially designed adhesive tape that can usually be removed more easily than ordinary household tape. It helps create temporary barriers between painted and unpainted surfaces.
Professional house painters commonly use it around:
Window frames and glass edges
Door frames and architraves
Skirting boards and trim
Ceiling edges
Light switches and electrical outlets
Cabinet edges and built-in furniture
Areas where two different paint colours meet
The main purpose is to protect surfaces and make certain parts of the painting process easier.
However, using tape does not automatically guarantee a perfect finish. Surface preparation, paint consistency, application technique, and removal timing all influence the final result.
Some experienced painters also prefer to cut in freehand rather than tape every edge. This technique can be particularly useful when working on detailed trim, corners, and other areas where tape may be difficult to apply.
Why Do Professional Painters Use Painter's Tape?
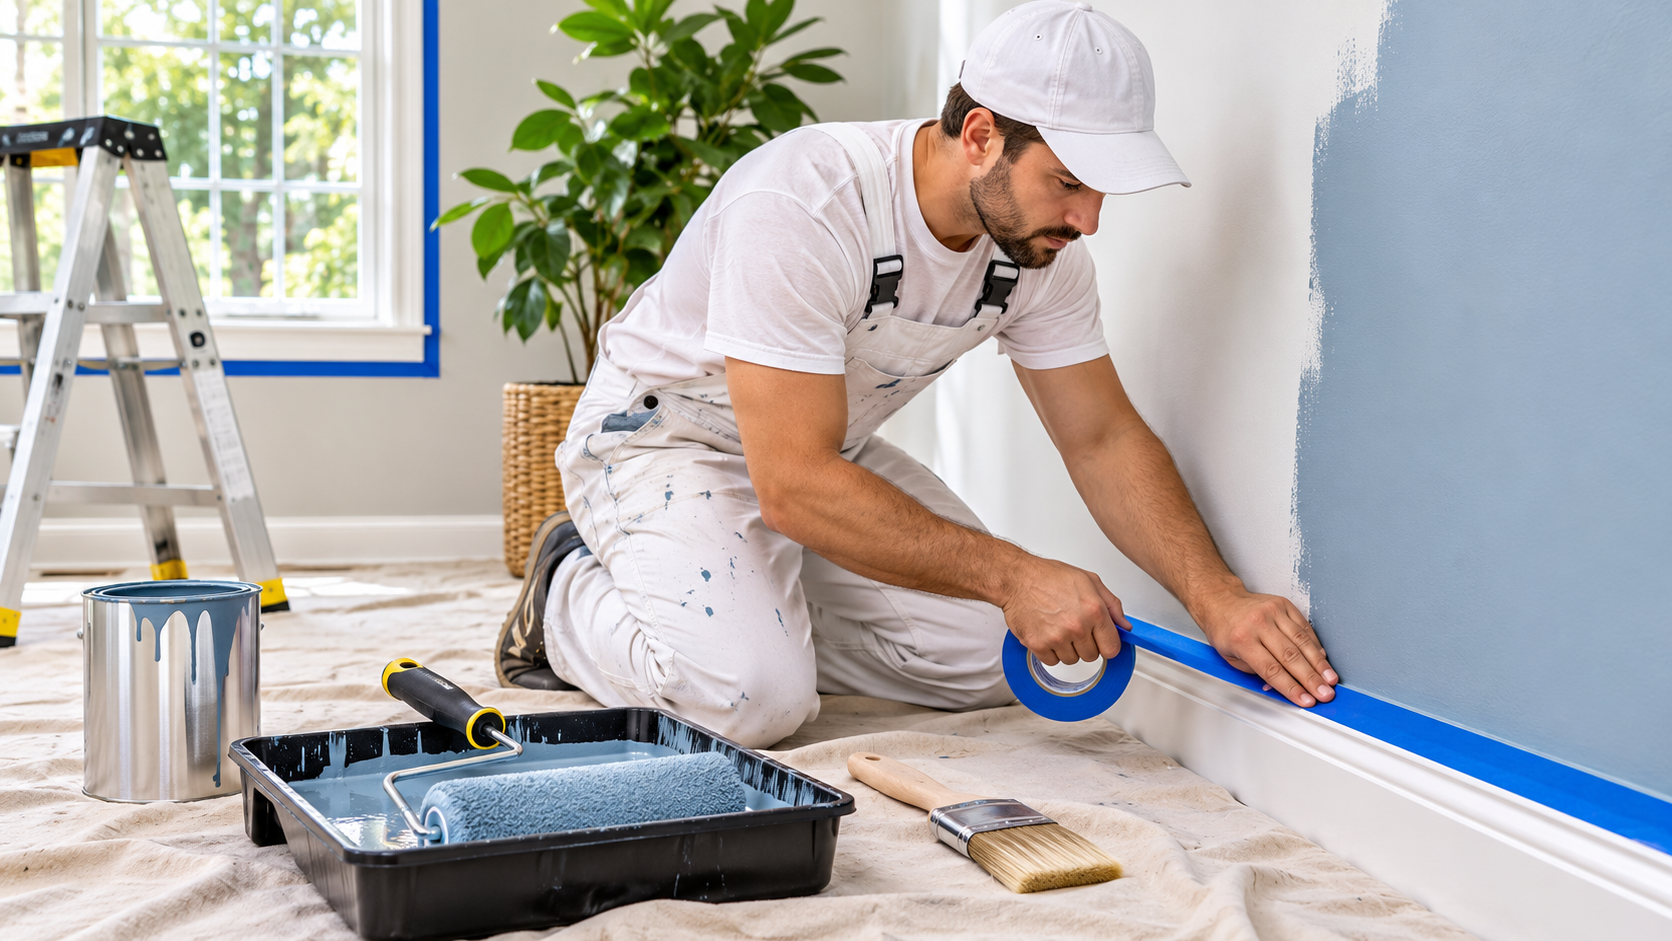
Painter's tape offers several practical benefits during interior and exterior painting projects.
1. Creating Clean and Straight Paint Lines
One of the main reasons painters use tape is to create clear boundaries between different surfaces or colours.
For example, when painting a bedroom with a coloured feature wall, tape can help create a straight boundary where the feature wall meets an adjoining wall.
It can also help separate ceiling paint from wall paint and protect decorative trim from unwanted paint marks.
This is particularly useful when a project involves multiple colours or contrasting finishes.
2. Protecting Surfaces From Paint Splashes
Even careful painters can occasionally create small splashes or marks while working.
Tape provides an additional layer of protection around vulnerable areas, such as window frames, door hardware, and decorative fittings.
For larger areas, painters may combine tape with masking paper, plastic sheeting, or drop cloths.
This helps reduce the amount of cleaning required after the job.
3. Saving Time During Certain Painting Tasks
Applying tape takes time, but it can make some painting tasks more manageable.
For example, protecting a window frame before painting the surrounding wall may be quicker than removing unwanted paint marks later.
The time saved depends on the surface, the complexity of the job, and how much preparation is required.
Professional painters consider whether masking an area will improve efficiency without creating unnecessary preparation work.
4. Helping With Multiple Colours
Painting a room with two or more colours requires careful planning.
If the colours meet along a straight boundary, painter's tape can help establish the separation.
This is particularly useful for:
Feature walls
Decorative stripes
Two-tone walls
Painted geometric patterns
Contrasting ceiling and wall colours
The tape helps maintain a consistent boundary when applied correctly.
5. Reducing Accidental Marks on Finished Surfaces
When painting walls near already finished woodwork, cabinets, or other decorative features, tape can help prevent accidental brush marks.
This is especially helpful when the surfaces have different colours or paint finishes.
However, painters should still select tape that is suitable for the material and its existing finish.
What Types of Tape Do Professional Painters Use?
Not all masking tapes are designed for the same purpose. Professional painters select tape according to the surface, project requirements, and how long the tape needs to remain in place.
Here are some common options.
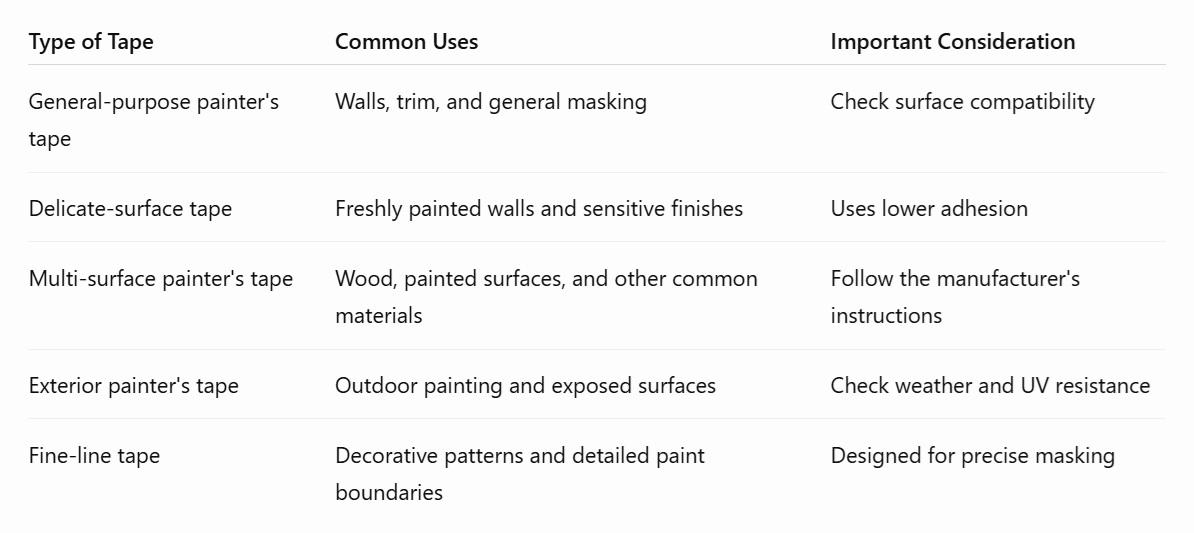
General-Purpose Painter's Tape
This is commonly used for everyday painting and decorating.
It can help protect skirting boards, door frames, and other surfaces during interior projects.
However, it should not automatically be used on delicate or recently painted surfaces.
Delicate-Surface Tape
Delicate-surface tape is designed for materials that may be damaged by stronger adhesives.
It can be useful when working around wallpaper, decorative finishes, or recently painted walls.
Even with low-adhesion tape, testing a small hidden area is a sensible precaution.
Exterior Painter's Tape
Exterior painting involves different conditions from indoor work.
Outdoor tape may need to withstand sunlight, changing temperatures, moisture, and longer exposure.
Using an appropriate exterior product helps reduce the risk of adhesive residue or difficult removal.
Fine-Line Tape
Fine-line tape is useful for decorative painting and detailed work where accurate boundaries are important.
It is commonly considered for stripes, patterns, and other designs requiring precise paint separation.
Do Professional Painters Always Use Tape?
No. Professional painters do not necessarily tape every edge or surface.
The decision depends on the painting technique, surface condition, and the expected finish.
For example, a skilled painter may use a brush to create a clean line where a wall meets a ceiling. This is known as cutting in.
Cutting in involves carefully loading a suitable brush with paint and applying it along an edge without touching the adjoining surface.
When Painters May Use Tape
Tape is often helpful when:
Painting detailed decorative patterns.
Protecting glass and hardware.
Working around delicate trim.
Applying contrasting colours.
Creating long, straight boundaries.
Protecting finished surfaces from accidental marks.
When Painters May Avoid Tape
Painters may choose not to use tape when:
They can achieve a clean edge with a brush.
The surface is too delicate for adhesive.
The wall texture makes reliable tape adhesion difficult.
The area has complicated curves or irregular shapes.
Applying and removing tape would take longer than careful brushwork.
The important point is that professional painters choose their approach based on the job rather than automatically using the same method everywhere.
Painter's Tape vs Cutting In: What Is the Difference?
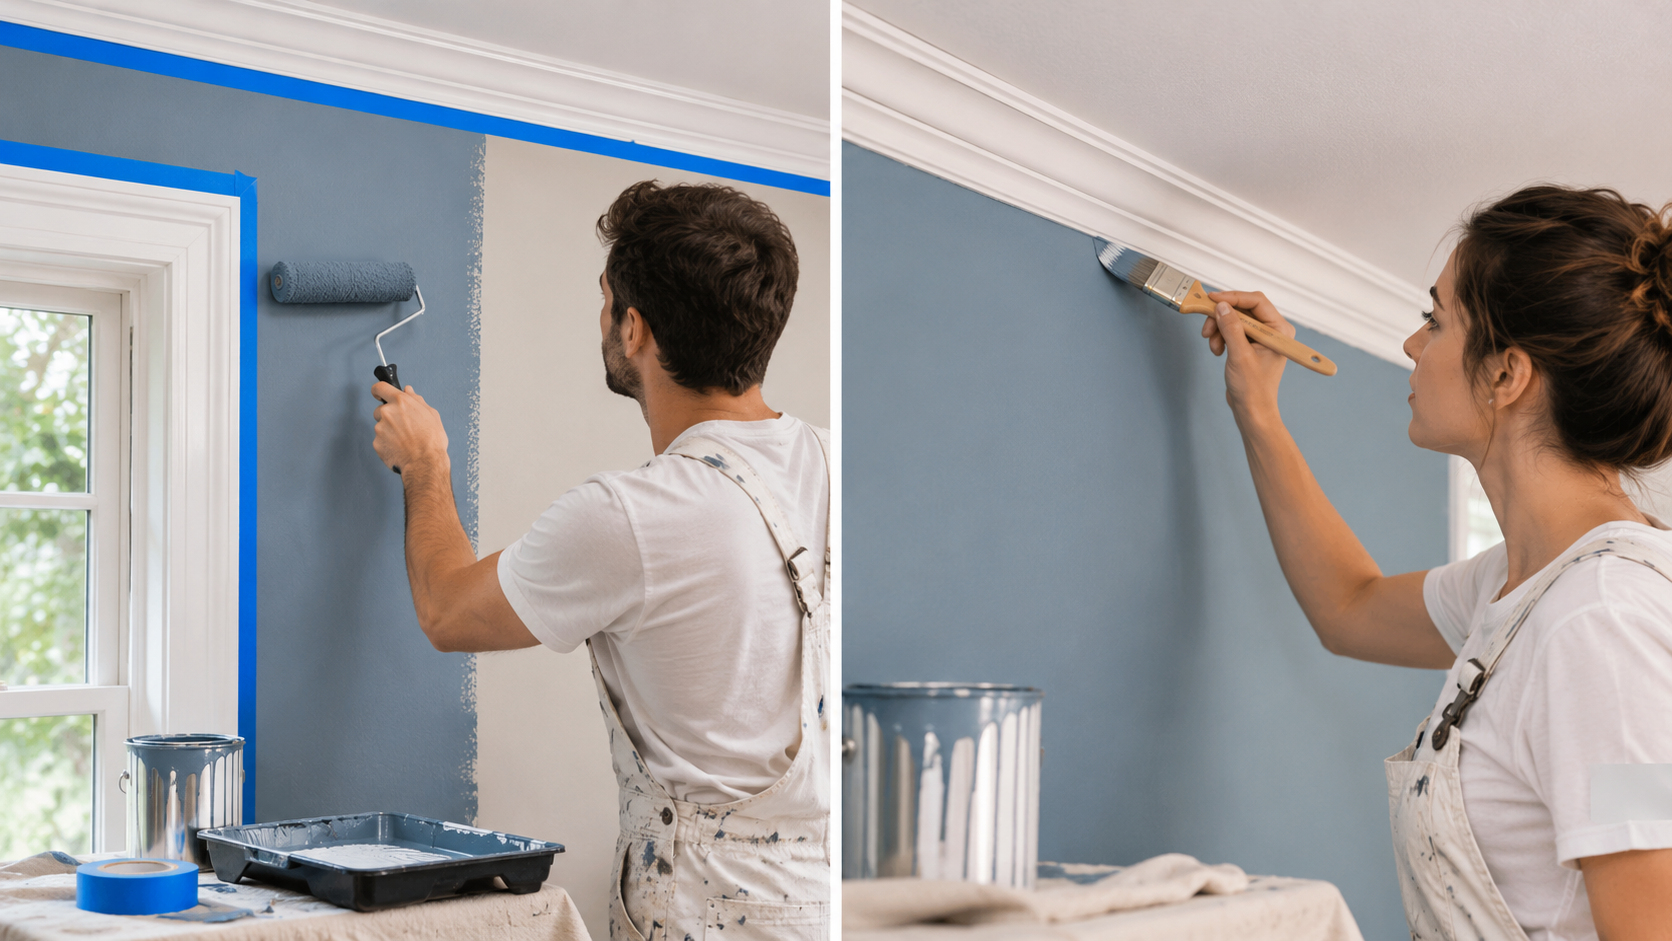
Both painter's tape and cutting-in techniques help create neat paint boundaries, but they work differently.
Painter's tape creates a temporary physical barrier that helps prevent paint from reaching an adjoining surface.
Cutting in uses a steady hand and a suitable brush to apply paint accurately along edges without relying on tape.
Here is how the two approaches compare:
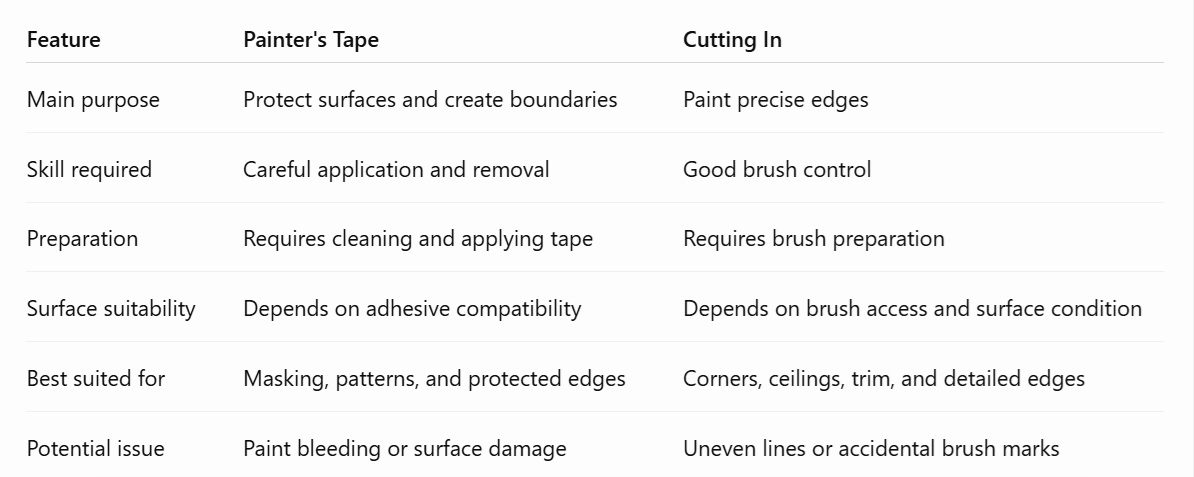
Neither method is automatically better.
For many projects, professional painters combine both techniques to achieve the desired result.
How Do Professional Painters Apply Painter's Tape Correctly?
Correct tape application is important because poorly applied tape can allow paint to seep underneath or damage the surface when removed.
Here is a practical process homeowners can follow.
Step 1: Clean the Surface
Before applying tape, make sure the surface is clean, dry, and free from loose dust, grease, and dirt.
Dust and debris can prevent the adhesive from making proper contact.
If the surface has moisture or cleaning residue, allow it to dry completely.
Step 2: Choose the Right Tape
Select tape according to the material being protected.
Consider:
Whether the surface is painted or unpainted.
Whether the existing paint is fully cured.
Whether the surface is smooth or textured.
How long the tape needs to remain in place.
Whether the work is indoors or outdoors.
Always check the product instructions for recommended surfaces and removal times.
Step 3: Apply Tape Carefully
Apply the tape along the edge that needs protection.
Work in manageable sections instead of stretching long lengths of tape across the surface.
Keep the tape straight and avoid wrinkles, gaps, or overlapping sections that could allow paint to pass underneath.
Step 4: Press Down the Edges
Once the tape is positioned, gently press along its edge to create proper contact.
Pay particular attention to corners, joints, and uneven areas.
A suitable plastic applicator or clean finger can help secure the edge without damaging the surface.
Step 5: Apply Paint Carefully
Avoid applying excessive paint directly against the tape.
Heavy paint application can increase the chance of paint collecting along the edge or seeping underneath.
Use controlled brush strokes or a suitable roller, depending on the surface.
Step 6: Remove the Tape at the Appropriate Time
Tape removal is an important part of the process.
Some painter's tapes are designed to be removed while the paint is still slightly wet, while others allow removal after the paint has dried.
Follow the manufacturer's instructions.
When removing tape, pull it back slowly at an angle rather than pulling it directly away from the surface.
If paint has formed a film across the tape edge, carefully scoring the boundary with a suitable sharp blade may help prevent peeling. Take care not to cut into the underlying surface.
Common Mistakes to Avoid When Using Painter's Tape
Even when using good-quality tape, mistakes during preparation or removal can affect the finished result.
Here are some common problems and ways to prevent them.
Using the Wrong Type of Tape
Ordinary household tape is not necessarily suitable for painting.
It may leave adhesive residue, tear during removal, or damage the underlying finish.
How to avoid it: Choose painter's tape specifically designed for the surface and conditions involved.
Applying Tape to Dirty Walls
Dust, grease, and loose paint can prevent tape from sticking properly.
This may allow paint to leak underneath.
How to avoid it: Clean and dry the surface before masking.
Leaving Tape in Place Too Long
Some tapes can become difficult to remove after extended exposure.
Sunlight, temperature, and adhesive type can affect removal.
How to avoid it: Follow the manufacturer's recommended removal window rather than leaving tape in place indefinitely.
Pressing Too Hard on Delicate Surfaces
Excessive pressure may damage sensitive finishes or create marks.
How to avoid it: Use an appropriate low-adhesion tape and apply it gently.
Applying Too Much Paint Near the Tape
Excessive paint can build up along the tape edge or seep beneath poorly sealed sections.
How to avoid it: Apply paint in controlled coats and avoid loading the brush or roller excessively.
Pulling Tape Away Too Quickly
Removing tape with excessive force can lift paint or damage the surface.
How to avoid it: Pull slowly and steadily at an angle, following the product instructions.
Troubleshooting: What If Painter's Tape Does Not Work Properly?
Sometimes, even careful preparation does not produce the expected result.
Understanding the cause can help prevent the same problem in future projects.
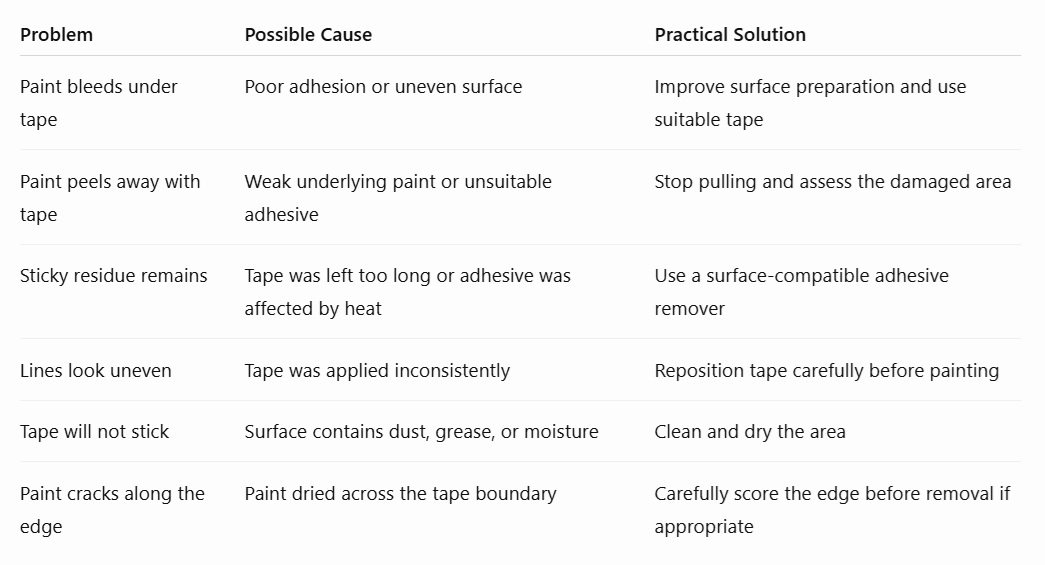
What If Paint Bleeds Under the Tape?
If paint seeps underneath, allow the affected area to dry according to the paint manufacturer's instructions.
Then assess whether the mark can be corrected with a small brush and matching paint.
For more noticeable imperfections, careful touch-up work may be necessary.
What If Tape Removes Existing Paint?
Stop pulling immediately.
The problem may be caused by weak existing paint, an uncured finish, or an adhesive that is too strong for the surface.
Allow the area to settle, remove any loose material carefully, and repair the damaged section before repainting.
If the surface contains several layers of peeling paint, further preparation may be required.
Important Things to Consider Before Using Painter's Tape
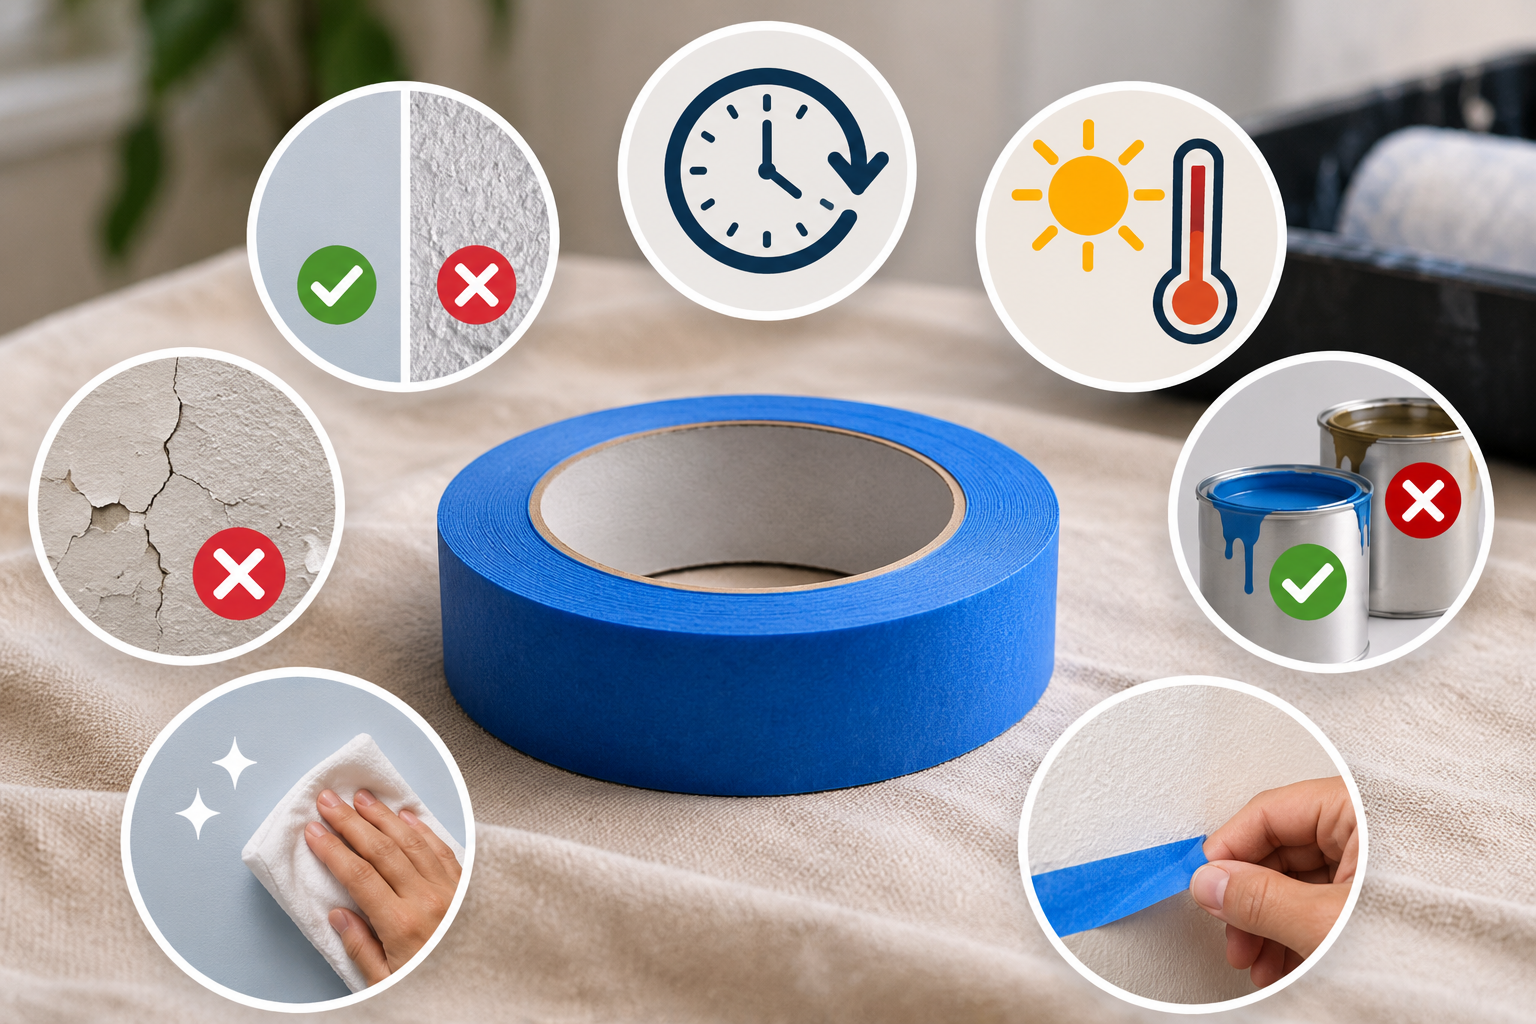
Before starting a painting project, consider the following factors.
1. Surface Condition
The condition of the surface matters more than many homeowners realise.
Fresh paint, loose coatings, wallpaper, textured plaster, and delicate finishes may react differently to adhesive products.
Always check compatibility before applying tape across a large area.
2. Paint Drying and Curing Time
Drying and curing are not the same thing.
Paint may feel dry to the touch while still requiring additional time to develop its full hardness and adhesion.
Applying tape too early can damage a relatively new finish.
Check the paint manufacturer's guidance before masking recently painted surfaces.
3. Indoor vs Outdoor Conditions
Indoor and outdoor painting projects have different requirements.
Exterior tape needs to be suitable for the expected weather and exposure conditions.
High temperatures, direct sunlight, rain, and humidity can affect tape performance.
4. Wall Texture
Smooth surfaces generally make it easier for tape to adhere evenly.
Textured walls, rough timber, and uneven plaster can create small gaps where paint may seep underneath.
In these situations, painters may need alternative masking methods or careful brushwork.
5. The Type of Paint
Different paint formulations have different drying characteristics.
The correct approach to masking and tape removal may depend on whether the project uses water-based or oil-based paint.
Always follow the instructions supplied with both the paint and tape.
Should You Hire Professional House Painters for a Painting Project?
Painting a room yourself can be manageable, particularly when the walls are in good condition and the design is straightforward.
However, larger or more complicated projects may require additional preparation, equipment, and painting skills.
Professional house painters understand how to assess surfaces, choose suitable materials, protect surrounding areas, and apply paint consistently.
They can also decide when masking tape is useful and when cutting in will produce a more appropriate result.
Before hiring a painter, consider asking:
How will you protect floors, furniture, windows, and other surfaces?
Do you use painter's tape or cutting-in techniques?
How do you prepare walls before painting?
What type of paint and finish do you recommend?
How do you handle damaged or uneven surfaces?
What preparation and clean-up work is included in the quote?
These questions help you understand the proposed process rather than judging a painting service solely on its price.
For homeowners considering a painting project in Tauranga, Elite Painting Ltd is a business to consider when exploring professional painting services. Comparing preparation methods, project details, and written quotes can help you make an informed decision.
Frequently Asked Questions
1. Do professional painters use tape on every painting job?
No. Professional painters use tape when it provides a practical benefit, such as protecting surfaces or creating straight boundaries. For other areas, they may use cutting-in techniques with a brush.
2. Do professional painters use masking tape or painter's tape?
They generally use painter's tape designed for decorating and painting rather than ordinary household masking tape. The specific product depends on the surface, paint type, and working conditions.
3. Does painter's tape guarantee straight paint lines?
No. Painter's tape can help create straight lines, but the result depends on proper application, good adhesion, suitable paint application, and careful removal.
4. Should painter's tape be removed while the paint is wet or dry?
It depends on the tape and paint manufacturer's instructions. Some tapes are designed for removal while paint is wet, while others can be removed after drying. Always follow the recommended removal guidance.
5. Can painter's tape damage walls?
Yes. Tape can lift existing paint, damage delicate finishes, or leave adhesive residue if the wrong product is used or it is left in place too long. Testing a small area first can help reduce the risk.
6. Can professional painters paint straight lines without tape?
Yes. Experienced painters can use a cutting-in technique to create neat edges with a brush. This is particularly useful around ceilings, corners, and decorative trim.
7. Is expensive painter's tape always better?
Not necessarily. The right tape depends on the surface and project requirements. A more expensive product is not automatically suitable for every material, so compatibility and removal instructions matter.
Conclusion
Professional painters do use painter's tape, but they do not rely on it for every part of a painting project. It is a useful preparation tool for protecting surfaces, separating colours, and creating clean boundaries.
The key is knowing when to use it and how to apply and remove it correctly. Choosing the right tape, preparing the surface, controlling paint application, and following removal instructions can help prevent common painting problems.
If you are planning to repaint your home, pay attention to the preparation process as much as the final coat of paint. A neat, lasting finish depends on the right combination of materials, surface preparation, and application techniques.